There are almost as many ways to wire, paint, install, weather, and clean track as there are model railroaders. Some of the factors driving the choice of methods used depends on your standard of “just good enough”. Some merely want to get by and are not worried about appearance or reliability. A few don’t care about achieving a realistic look and opt for the ease and speed of installation. Some use toy-looking track systems such as the Kato Unitrack system or sectional track. Others aspire for track to both look realistic and run flawlessly (good luck on this one). You must determine your own standard of “just good enough” and proceed from there. It is a hobby, not a contest.
PLANNING & INSTALLATION
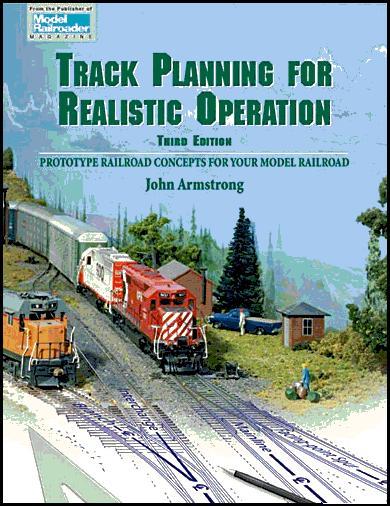
If you want to put some time in and configure track advantageously, read John Armstrong’s book “Track Planning for Realistic Operations” before even making a detailed track plan. Who knew there were so many things to consider? Fortunately, the late John Armstrong did.
Next, read a few articles on track installation itself, especially those written within the past few years (new materials, adhesives, etc. are available that supersede methods you may hear about from experienced modeler’s. The new way may be easier and superior.) and/or watch some Youtube videos or videos available from Kalmbach Publishing. Kalmbach has free videos available for subscribers to their Model Railroader magazine and for a fee they have MRVideoPlus with additional videos. There are also forums on track installation and many other topics that can be found by searching online (try searching on “model railroad track forum”).
Keep in mind that whichever method you use to initially secure your track to the roadbed**, proper ballasting will provide the (near) permanent adhesion. I started ten years back laying HO track using nails through the center of the ties. This looked unsightly as the nails remained visible, and, due to my poor skills, there were many instances where I set the nails too deep, leading to distorted track. Additionally, drop wires were soldered to the side of the track, leaving unsightly blobs of solder. Yes, these blobs can be somewhat masked by painting over, but, first need to be cleaned using alcohol to remove any residues from the soldering. That is time-consuming and as I now know, unnecessary.
** Roadbed can be cork, rubber, styrofoam or you can attach directly to plywood, homasote or styrofoam sub-roadbed.
My current method for laying N-scale track is to solder drop wires to the bottom of each rail section. The next step is to “dry fit” the track to see where to drill through the sub-roadbed to provide a path for the drop wires to reach the power bus. Then, I put down a bead of DAP Dynaflex 230, spread it with a putty knife, set the track down and roll it with a wallpaper roller. I usually set pieces of 1×3 pine on top of the track and set 10 pound weights on each piece of wood to press the track down into the caulking securely. This method results in track that, once ballasted, shows no signs of attachment to either the roadbed or the drop wires.
I know one modeler who hot-glued his track down on his previous layout, did not ballast and had many problems moving larger locomotives around without derailing. He just was not that concerned with that aspect of modeling. His focus was more on assembling model buildings (mostly wood) and creating a realistic town surrounded by track.
TRACK PAINTING
Whether before or after laying the track, there are numerous ways to paint the rails.
- Canned spray paint,
- airbrush
- track painting pens (Woodland Scenics has pens in “Steel rail brown”, “Rusty rail”, and “Weathered tie”)
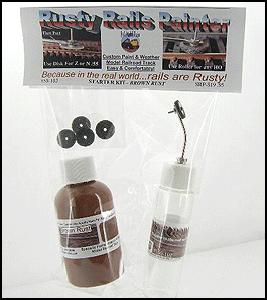
- Various other systems such as Joe’s Model Trains: “Rusty Rails Painter”